Check-In and Check-Out
Check-In and Check-Out
Check-In and Check-Out tracks who is at your event, who collected them, and when. It's a comprehensive suite of features that address a range of circumstances - state-specific guidelines, security checks, attendance management, and much more.
Every check-in, check-out and correction is kept permanently. When a staff member fixes a mistake, Regpack records the fix rather than erasing what came before, so your attendance record stays complete.
What you need first
You have Check-In and Check-Out if Settings → Project Settings shows an ATTENDANCE tab, and an ATTENDANCE icon appears in the left sidebar.
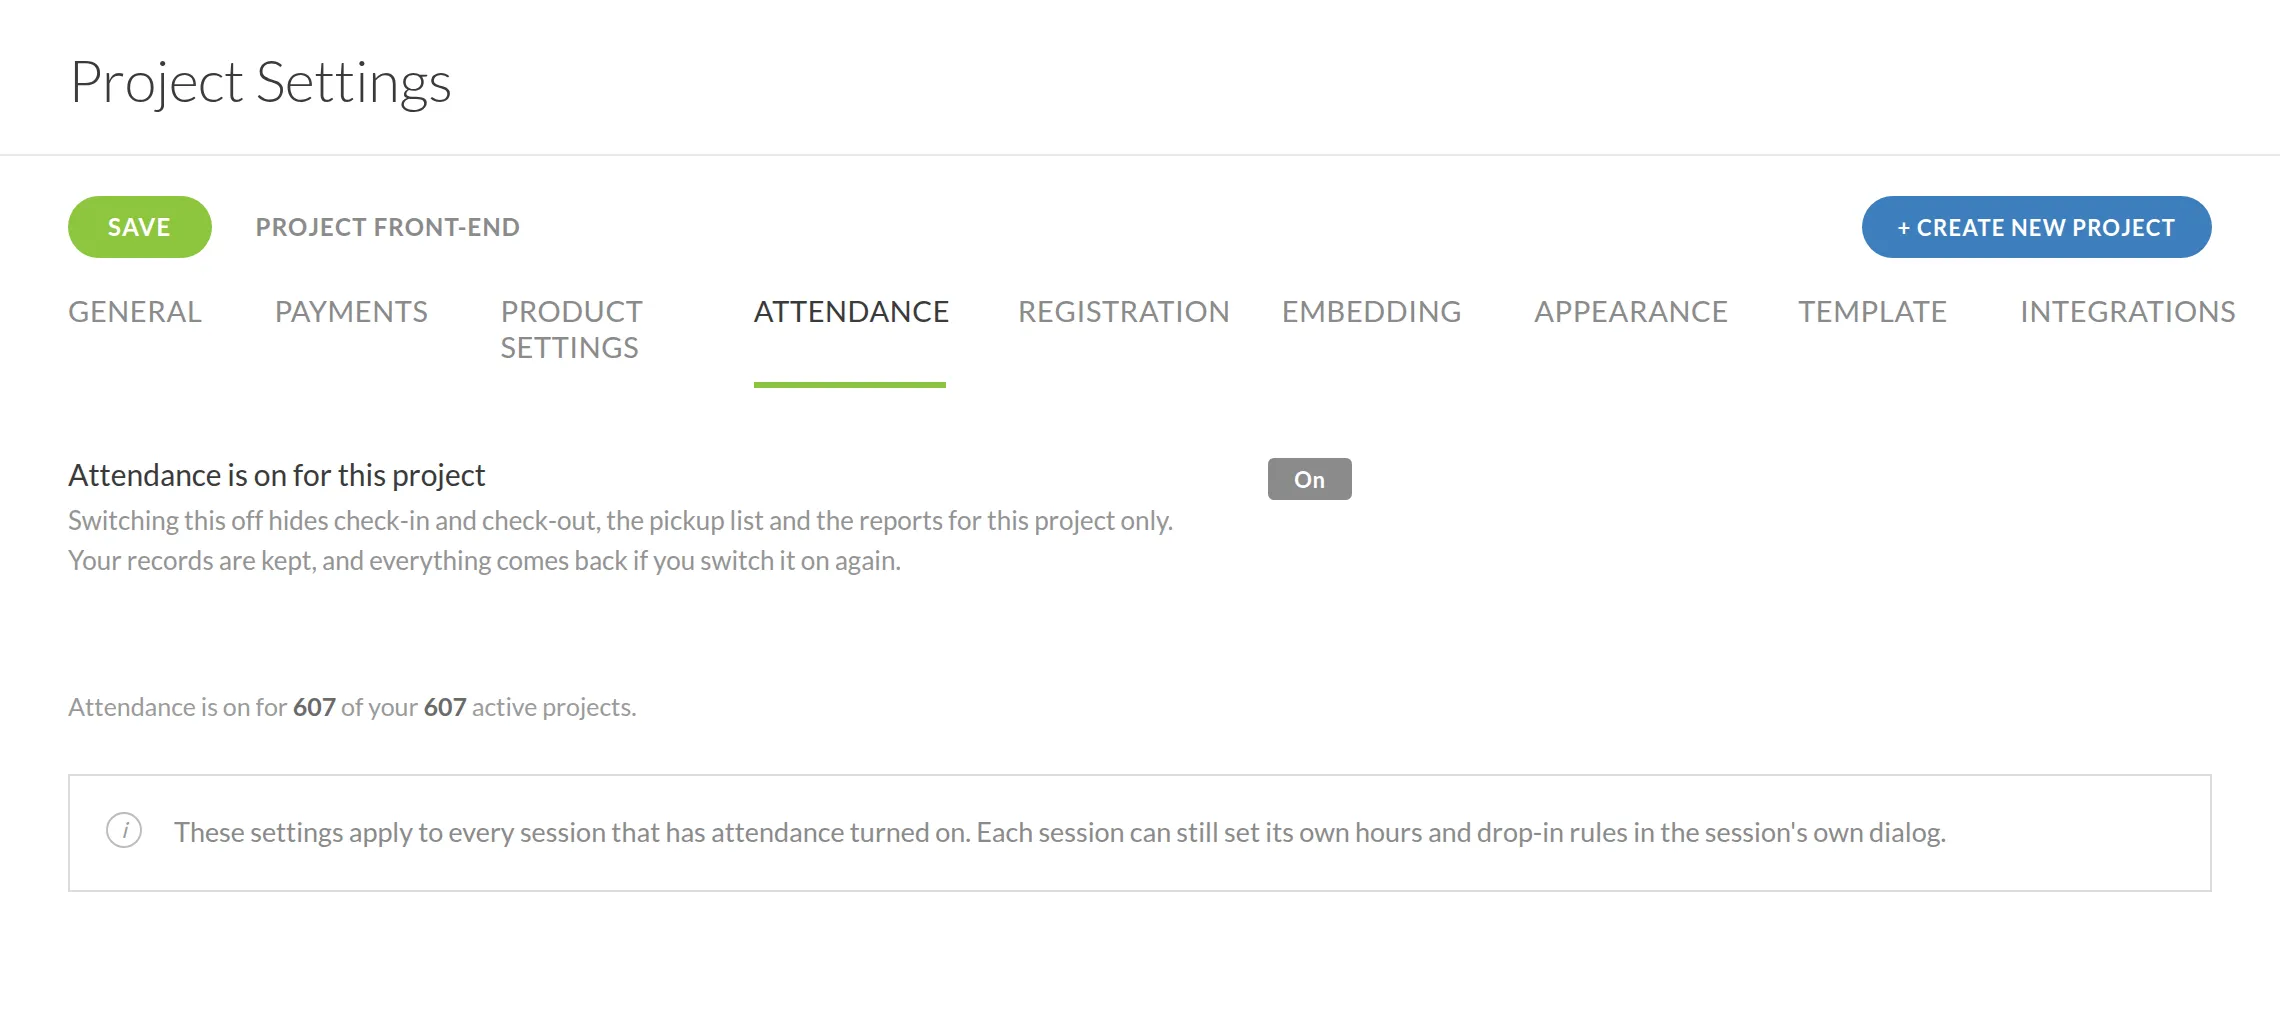
If you don't see the ATTENDANCE tab, contact your project consultant or Regpack support to explore activation options.
Set up your project defaults
Attendance settings live in two places that work together:
- Project Settings → ATTENDANCE sets your project-wide rules, plus the defaults every session starts with.
- A single session can override any one of those defaults for itself, without affecting anything else.
1. Activating Attendance
Attendance is on for this project sits at the top of the tab. Switching it off hides check-in and check-out, the pickup list and the reports for this project only.
2. Set your records and compliance rules
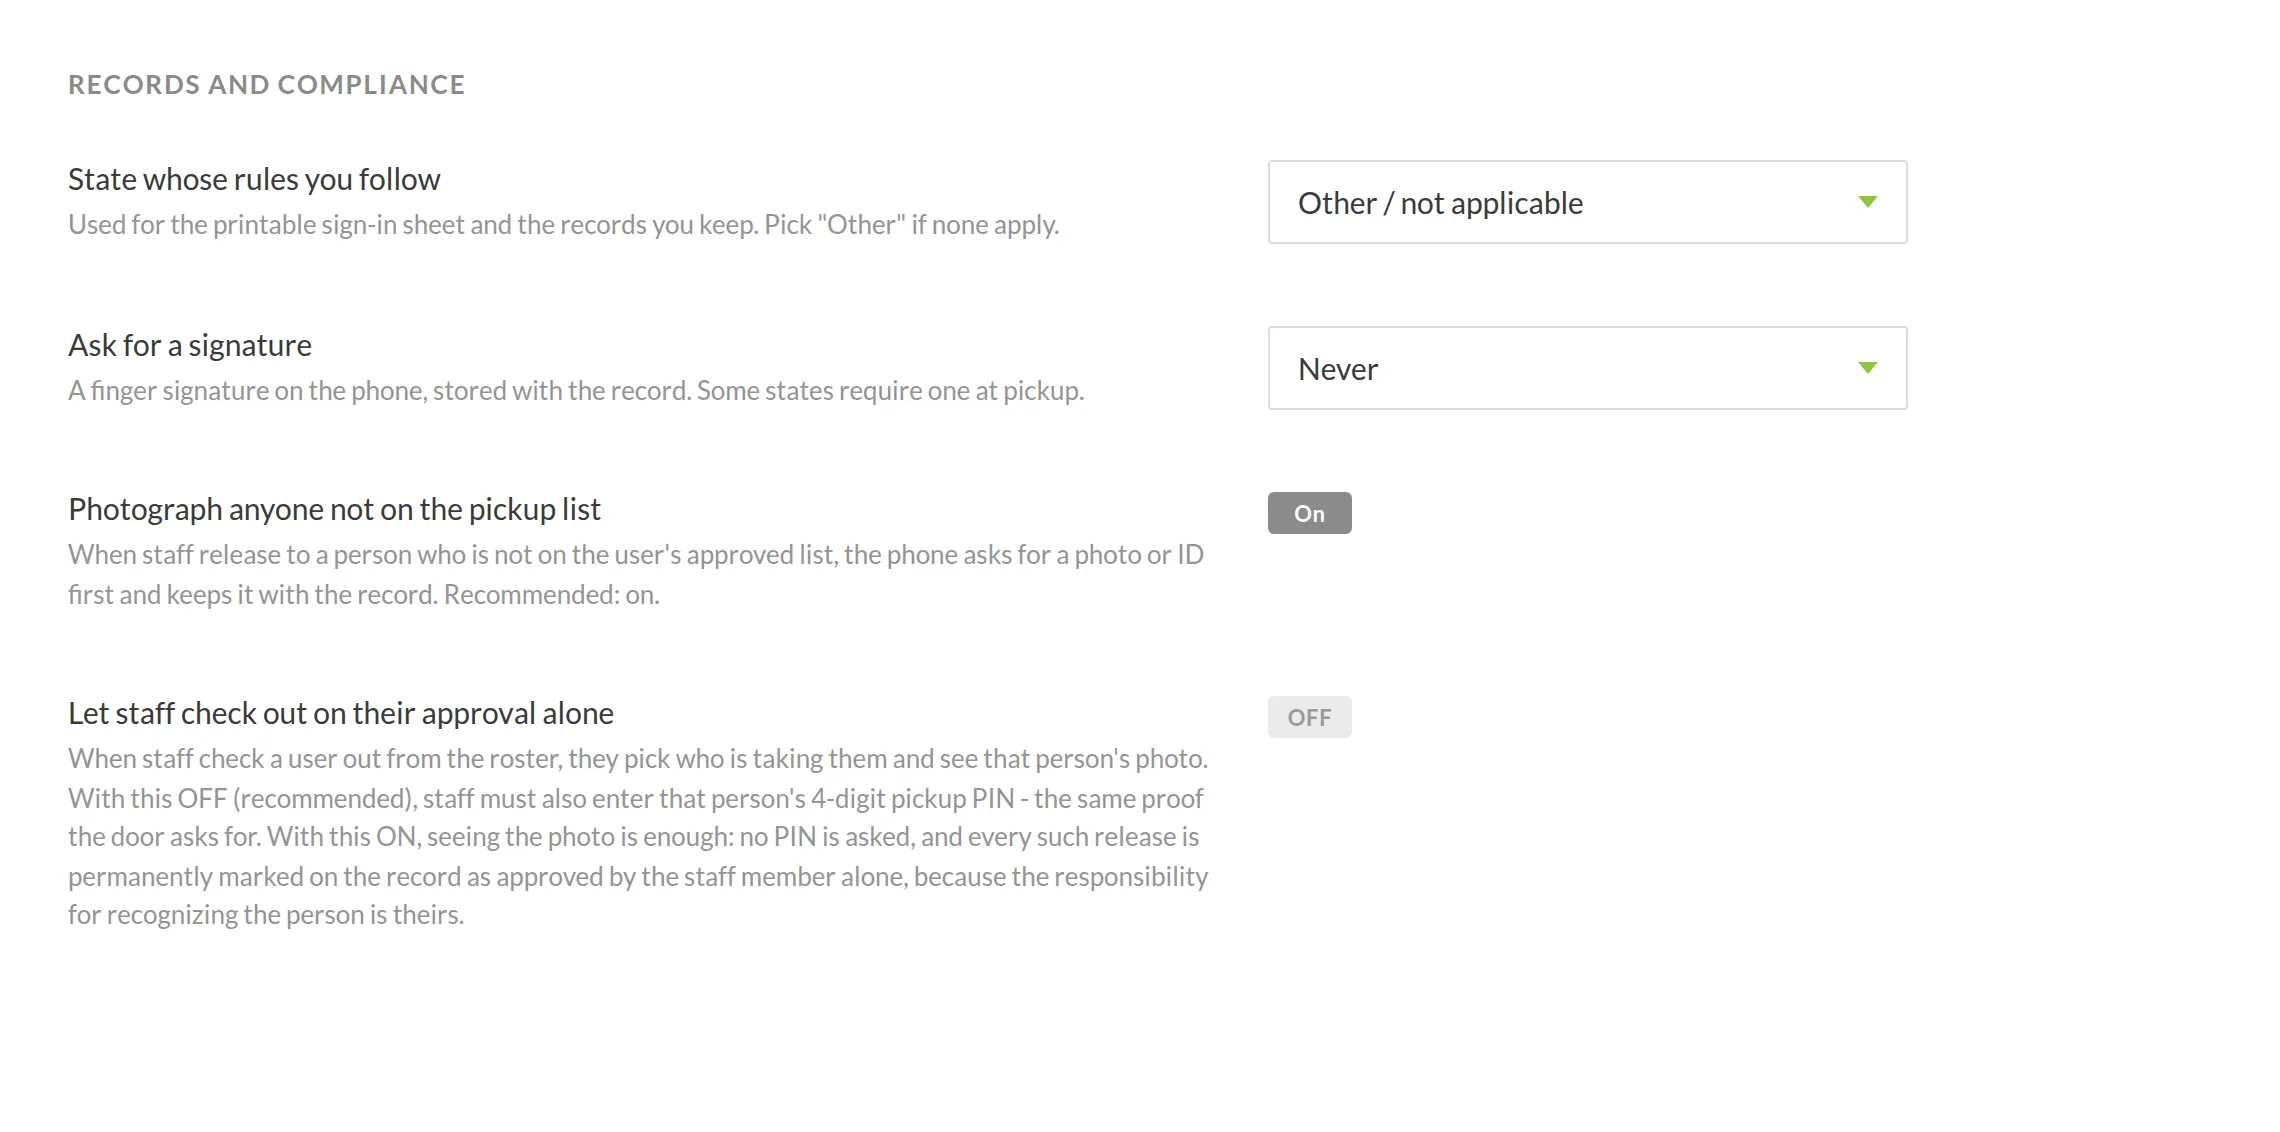
Setting | Default | What it does |
|---|---|---|
State whose rules you follow | Other / not applicable | Shapes the printable sign-in sheet and the records you keep. Pick "Other" if none apply. |
Ask for a signature | Never | A finger signature on the phone, stored with the record. Some states require one at pickup. |
Photograph anyone not on the pickup list | On | When staff release someone to a person who isn't on that registrant's approved list, the phone asks for a photo or ID first and keeps it with the record. |
Let staff check out on their approval alone | Off | Off is recommended: staff must enter the collecting person's 4-digit pickup PIN, the same proof the door asks for. On means seeing that person's photo is enough — and every such release is permanently marked on the record as approved by that staff member alone. |
3. Choose how strict the door code is
How strict the user code is controls the code registrants use at the door.
- Standard — the code expires each day suits most programs.
- Strict expires the code quickly and asks staff to confirm the person's photo. Use it when the group is large or turnover is high.
4. Decide who receives the QR poster
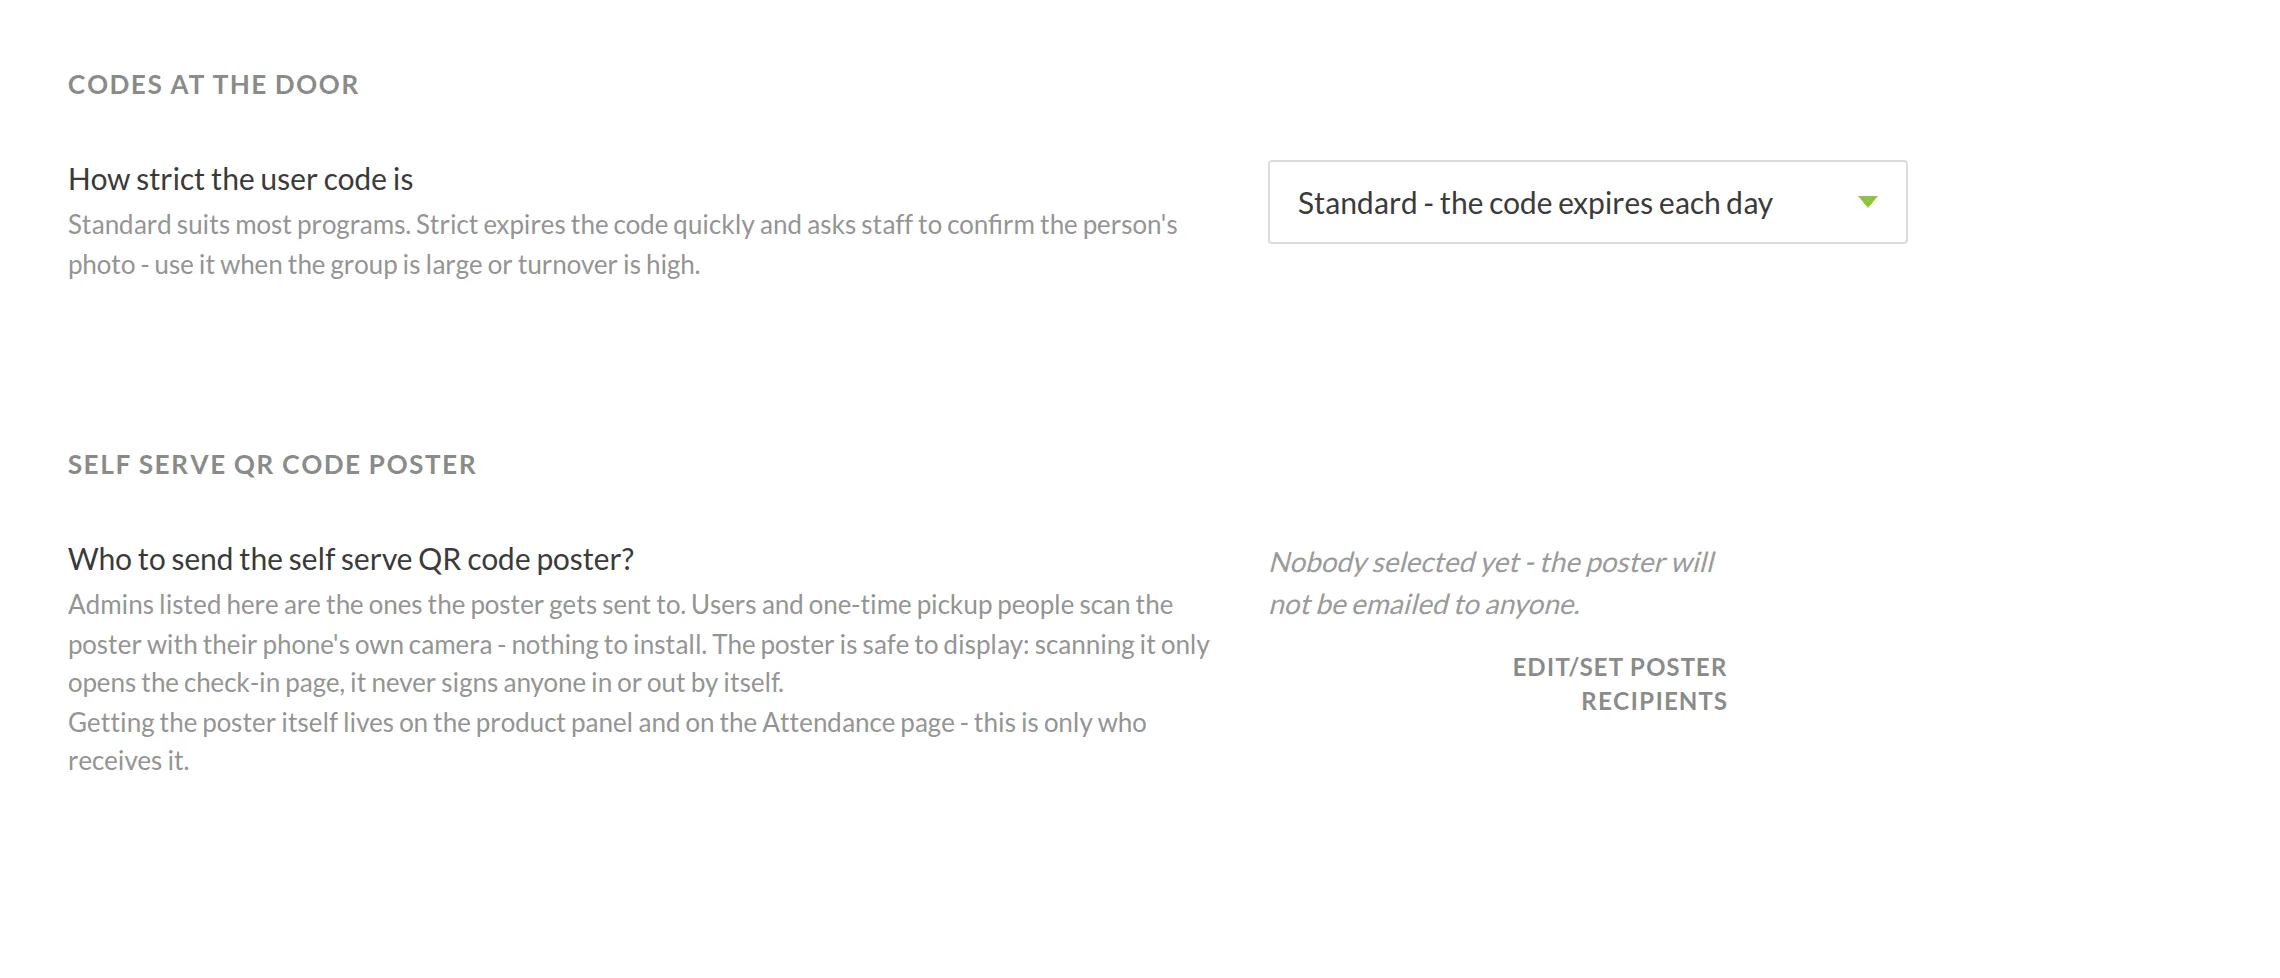
Use EDIT/SET POSTER RECIPIENTS to choose which admins are emailed the self-serve poster. Out of the box nobody is selected, so the poster isn't emailed to anyone.
Registrants and one-time pickup people scan the poster with their phone's own camera — there's nothing to install.
This setting only controls who receives the poster. You get the poster itself from Attendance → TOOLS → Door poster, or from the product panel.
5. Decide what families are told
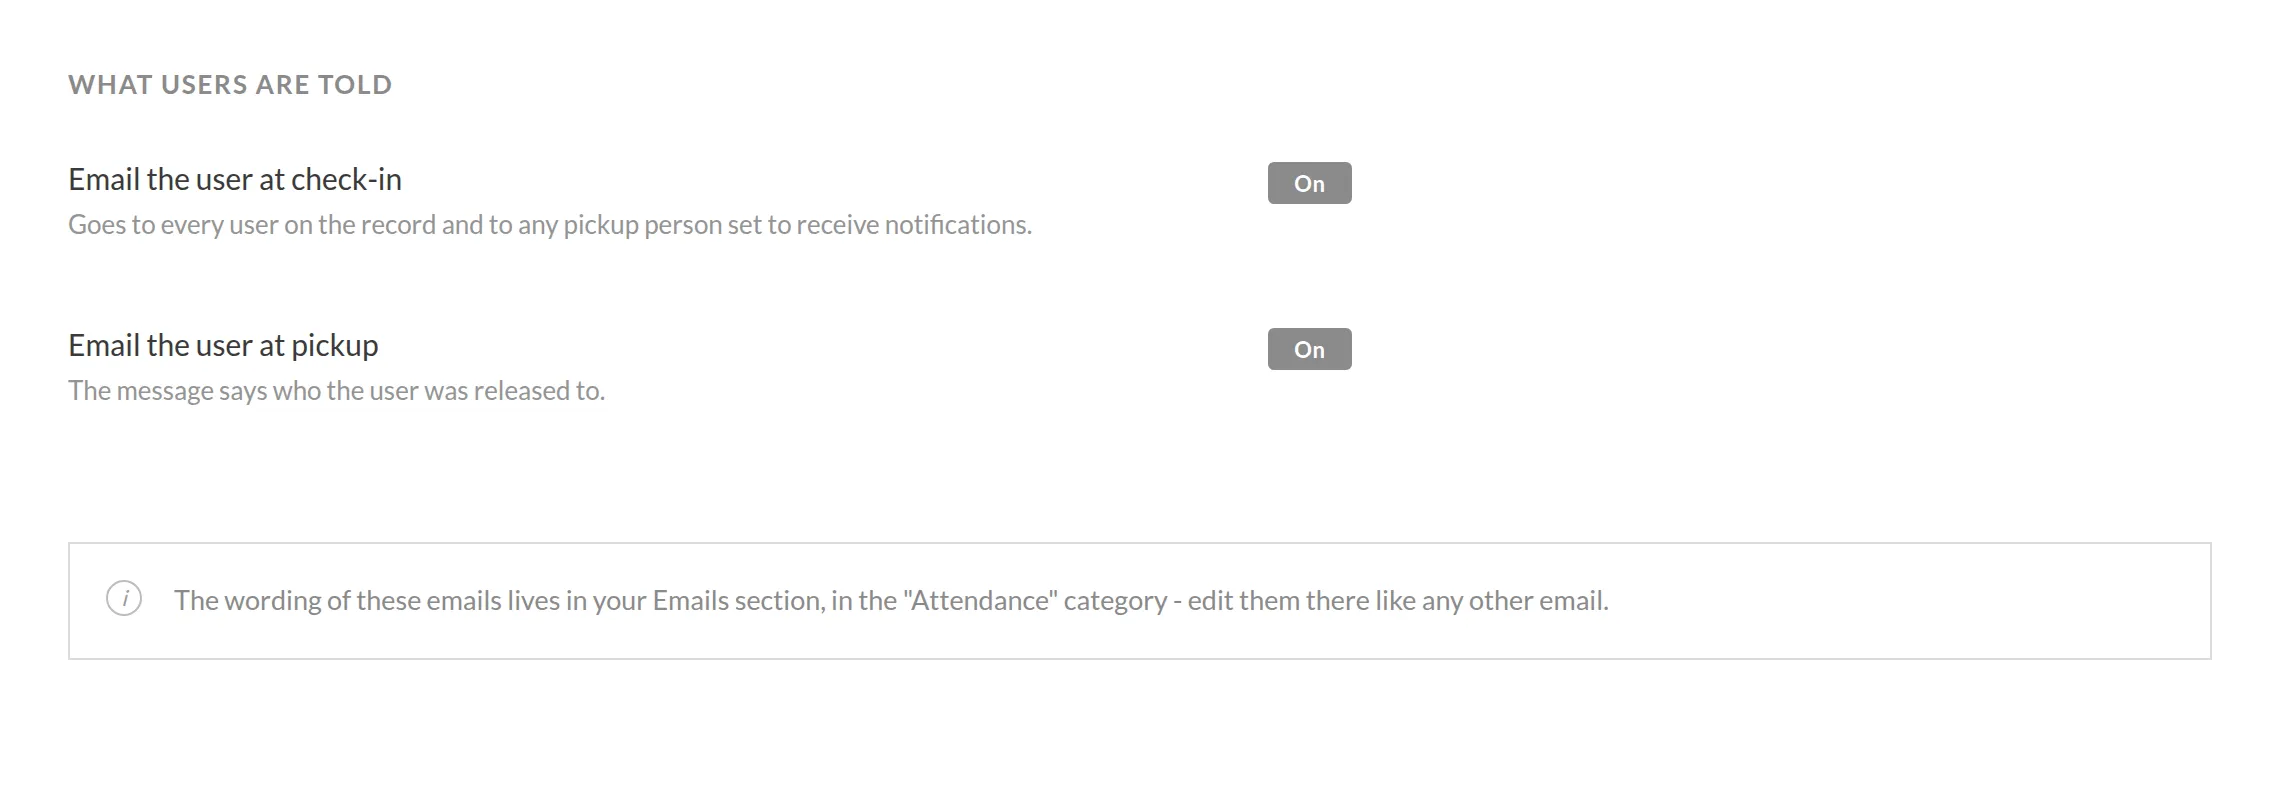
Setting | Default | What it does |
|---|---|---|
Email the user at check-in | On | Goes to every user on the record, and to any pickup person set to receive notifications. |
Email the user at pickup | On | The message says who the registrant was released to. |
The wording of these emails lives in your Emails section under the Attendance category — edit them there like any other email.
6. Set the defaults every session starts with
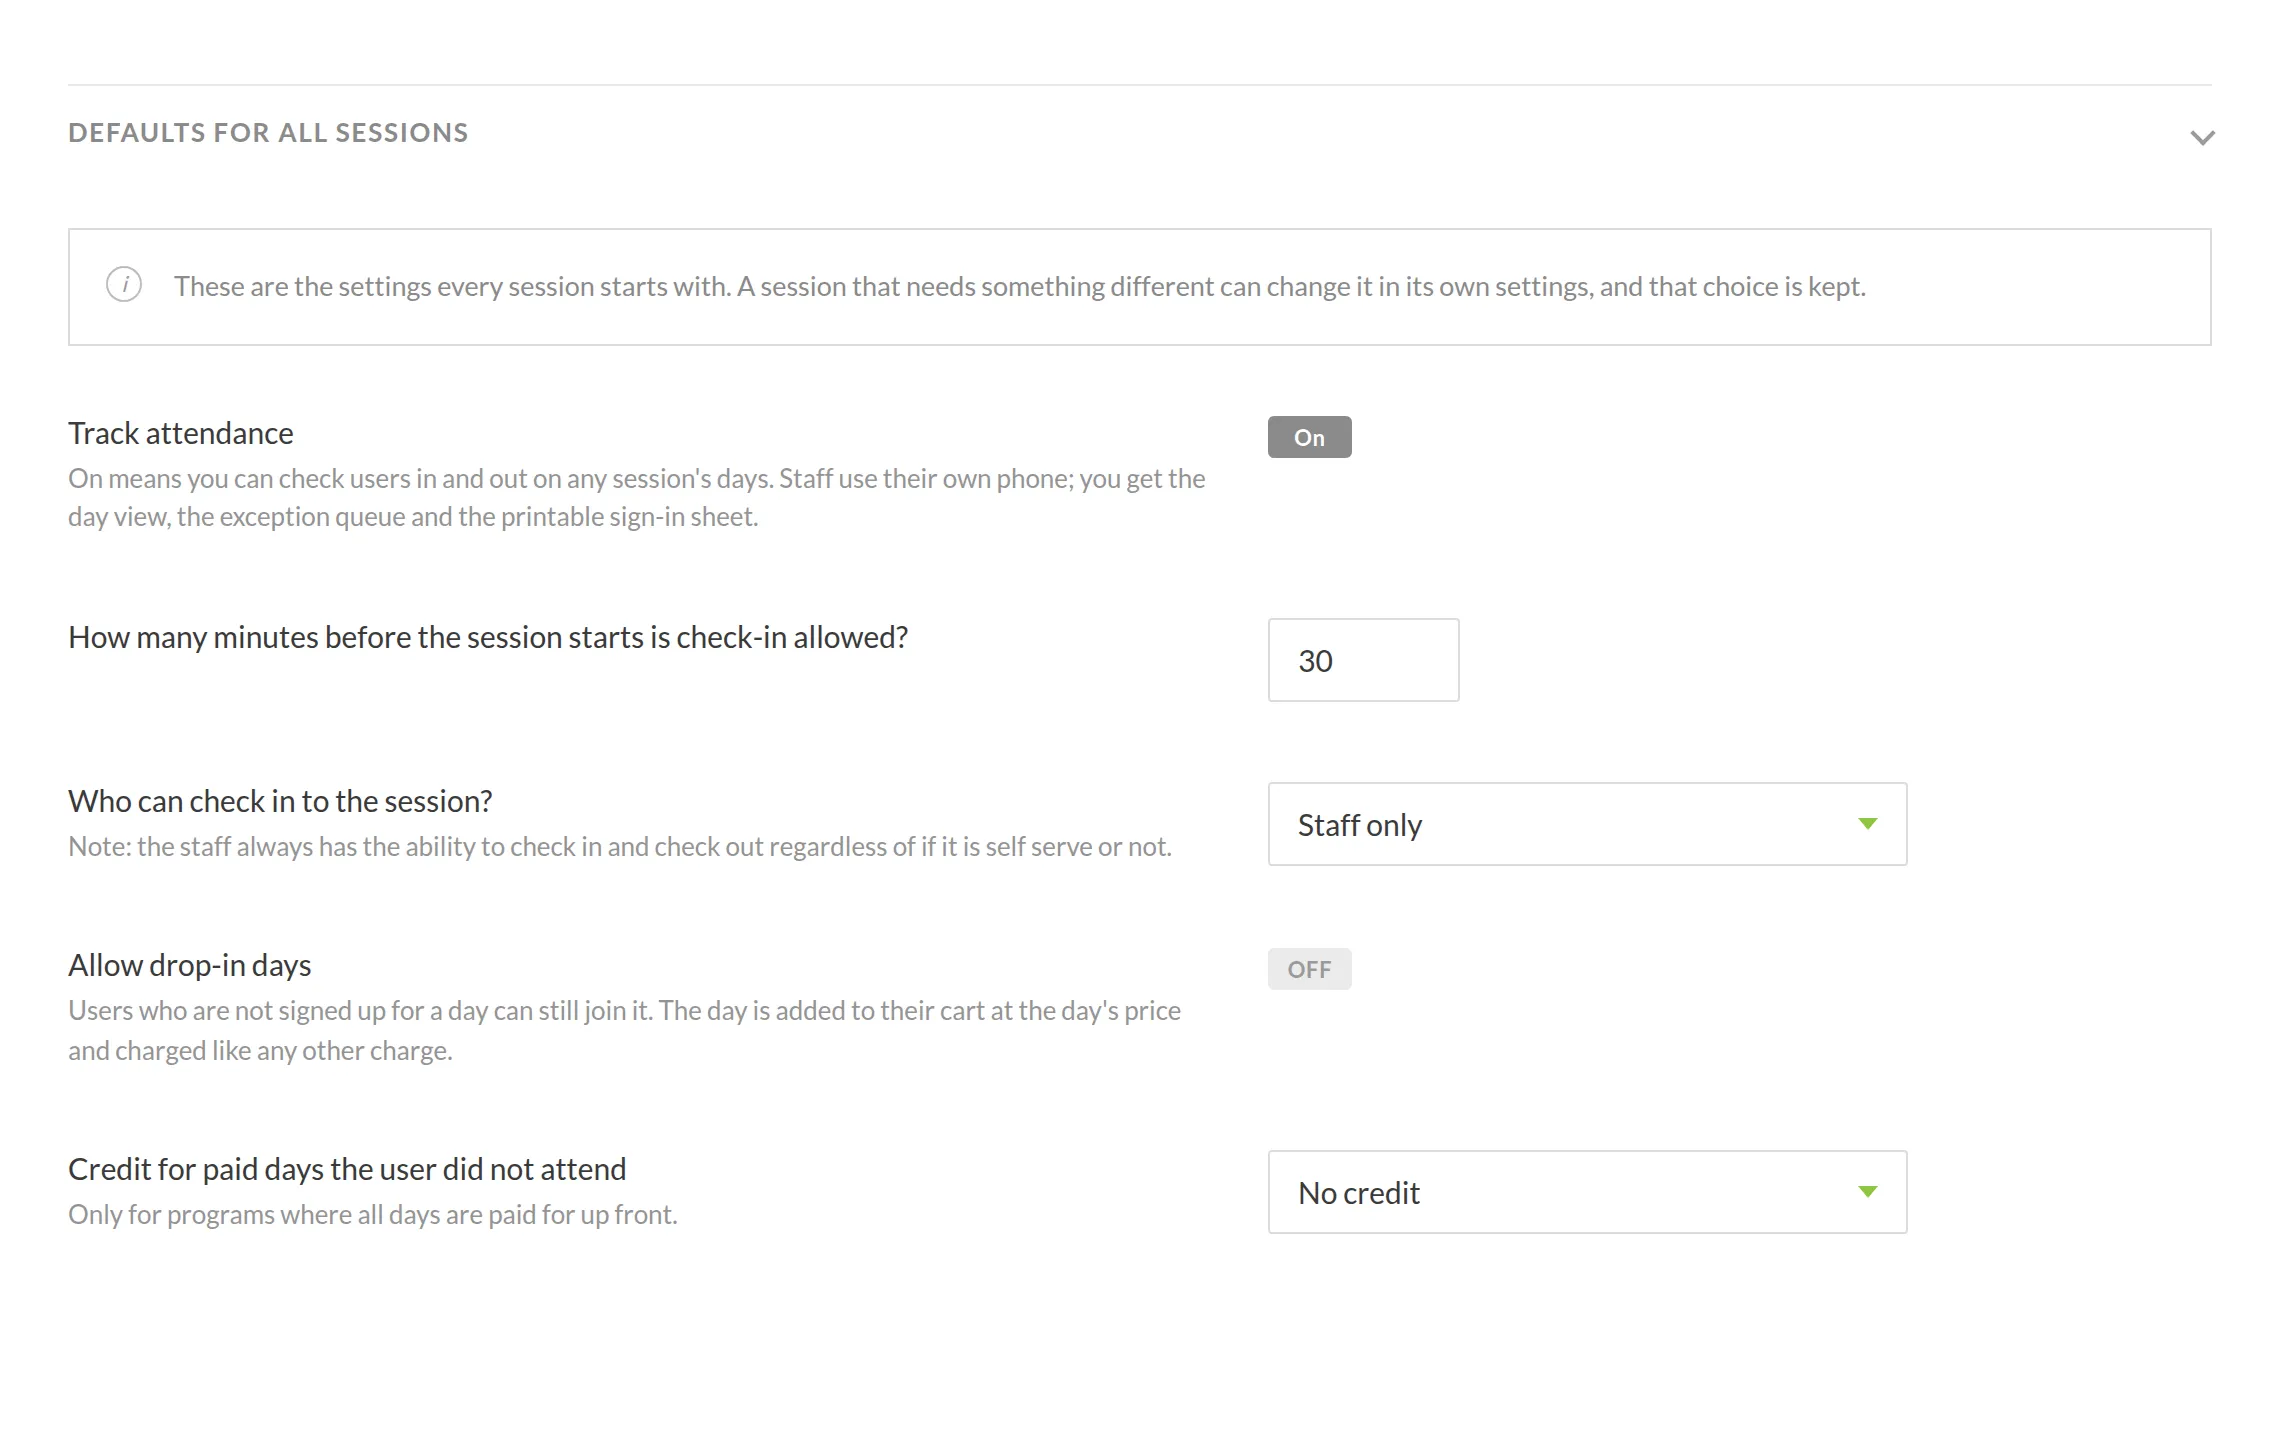
Click DEFAULTS FOR ALL SESSIONS to expand it.
Setting | Default | What it does |
|---|---|---|
Track attendance | On | Lets you check registrants in and out on any session's days. Staff use their own phone; you get the day view, the exception queue and the printable sign-in sheet. |
How many minutes before the session starts is check-in allowed? | 30 | The size of the early check-in window. |
Who can check in to the session? | Staff only | Whether registrants or parents can check themselves in. Staff can always check people in and out either way. |
Allow drop-in days | Off | Registrants not signed up for a day can still join it. The day is added to their cart at the day's price and charged like any other charge. |
Credit for paid days the user did not attend | No credit | Only for programs where every day is paid for up front. |
A session that needs something different can change any of these in its own settings dialog, and that choice is kept — later edits to the project default leave it alone.
7. Save
Click SAVE at the top of the page. A green Attendance settings saved. confirmation appears at the bottom of the screen. After typing in a number field, click elsewhere on the page first so the new value registers.
Running check-in on the day
Open ATTENDANCE in the left sidebar. The page has two modes, switched at the top.
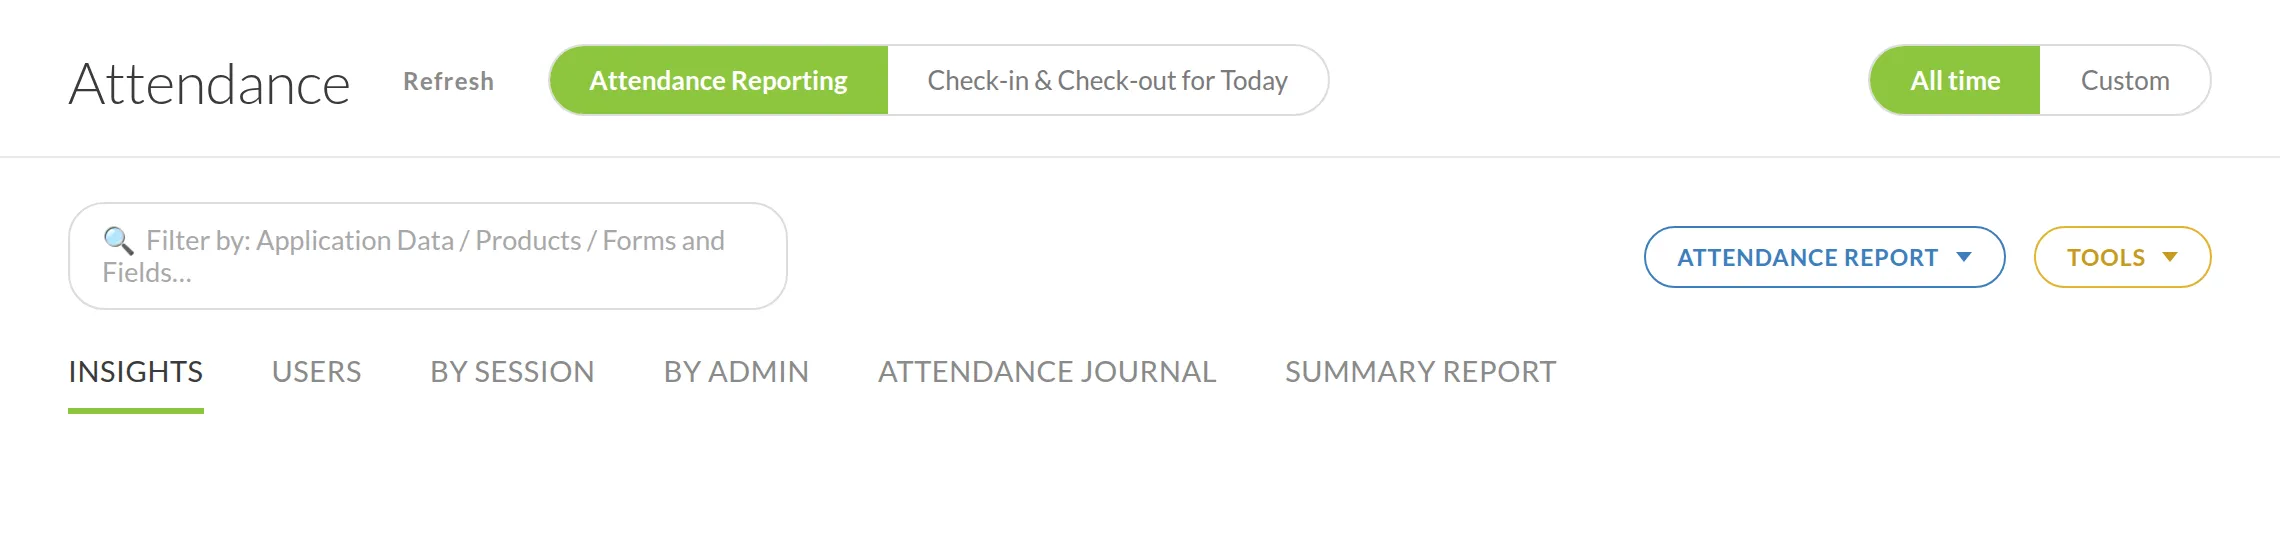
Check-in & Check-out for Today is the live day view, with today's date beside the search box:
- HERE NOW — who is currently checked in
- TODAY'S ROSTER — everyone expected today
- NEEDS ATTENTION — the exception queue
When nothing is running check-in, the day view says so and points you to the session's settings dialog.
Attendance Reporting is the history, with an All time / Custom date range at the top right:
- INSIGHTS, USERS, BY SESSION, BY ADMIN — the same record cut four ways
- ATTENDANCE JOURNAL — the full permanent trail, corrections included
- SUMMARY REPORT — the roll-up
Getting the records out
ATTENDANCE REPORT offers two exports:
- Spreadsheet (CSV)
- Sign-in sheet (PDF) — the printable sheet, shaped by the state you chose in step 2
Where else you'll see it
An ATTENDANCE button appears in the User Management toolbar, between RP TOOLS and REPORTS.
Every registrant's card gains an Attendance tab, between Forms and Cart:
It shows their check-in history above a NOTIFICATIONS SENT panel listing the attendance emails that went to their family — so you can answer "did they actually get the email?" without leaving the card.
Common questions
Do families get an email the moment I switch attendance on? Yes, if you leave the two email settings on. Switch them off first if you want a quiet start, then turn them on when you're ready.
Can a parent check their own child in? Only if you change Who can check in to the session? away from Staff only. Staff can always check people in and out either way.
What happens if someone who isn't on the pickup list collects a registrant? With Photograph anyone not on the pickup list on, the phone asks for a photo or ID first and keeps it with the record. With Let staff check out on their approval alone off, staff must also enter that person's 4-digit PIN.
Can I fix a wrong check-in? Yes. Regpack records the correction alongside the original rather than overwriting it, so the trail stays intact.
Can one session have different hours from the rest? Yes. Change it in that session's own settings dialog. The session keeps its own value from then on.
Do I need an app for this? No. Staff use their own phone's browser, and registrants scan the QR poster with their phone's camera.